Developing with Codespaces
To ensure a consistent developer experience, we encourage the use of GitHub Codespaces, an in-browser coding environment built around Visual Studio Code.
Developers who are more familiar working on their local machine can adapt the instructions here to suit their own set-ups.
Step 1: Launch a Codespace
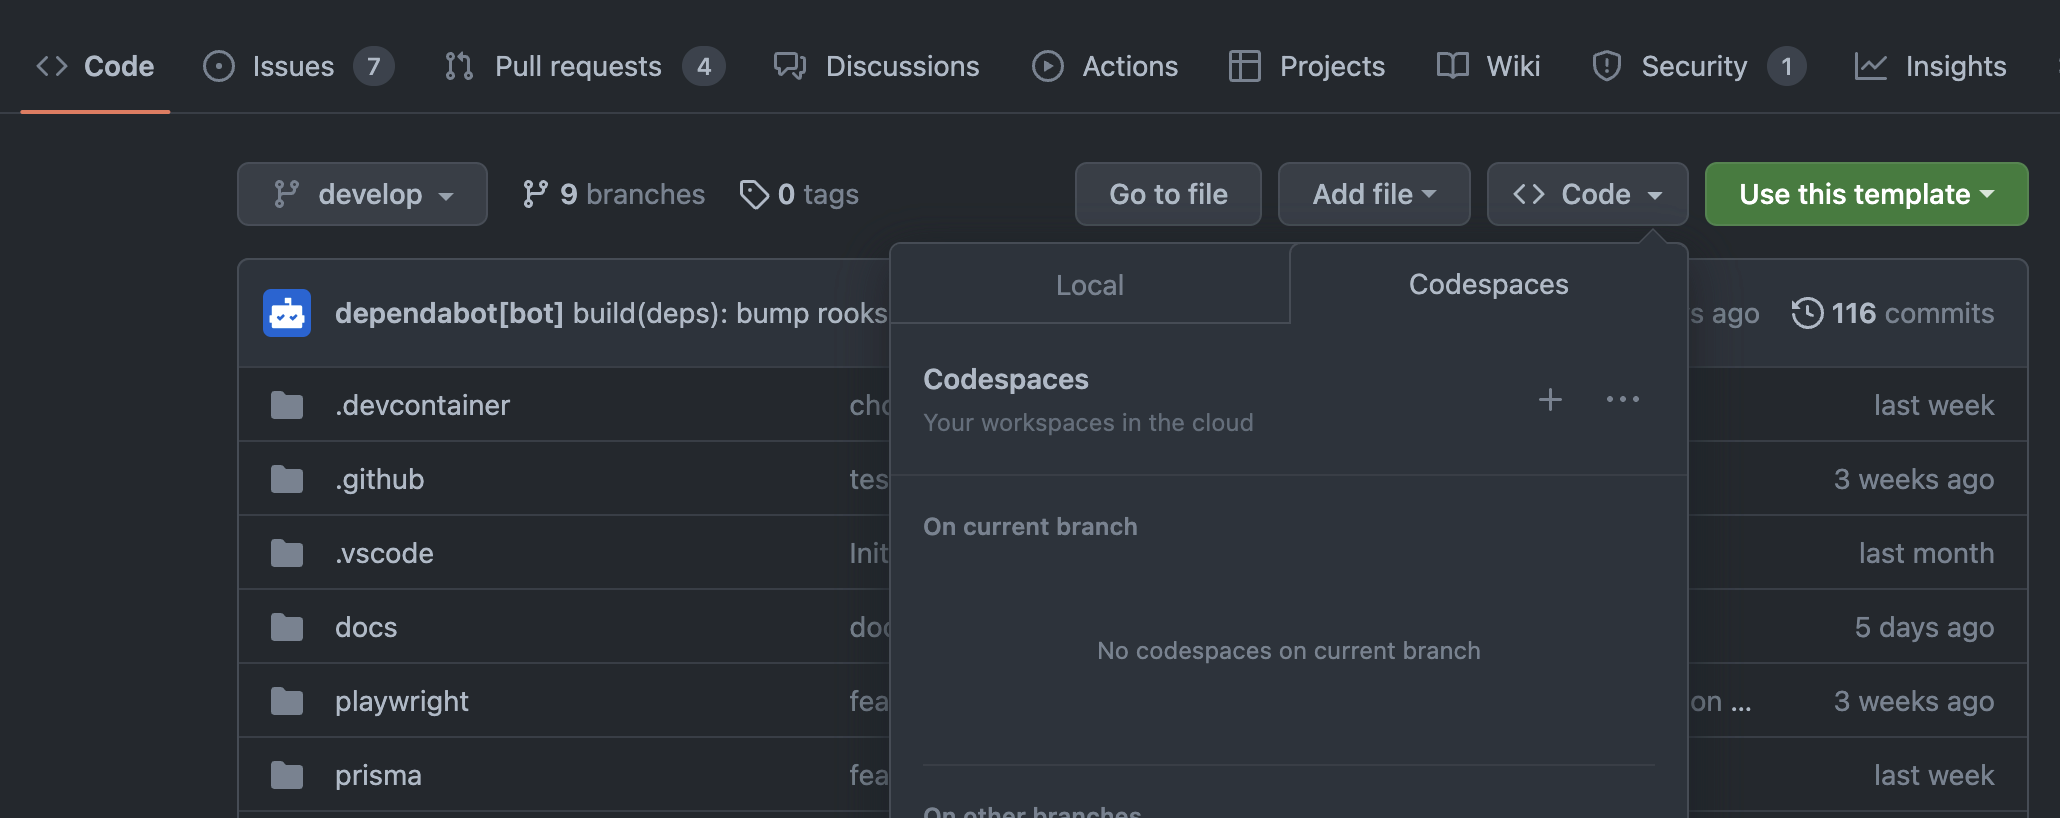
Using your browser, navigate to GitHub repository you have created in the previous section and select Code > Codespaces.
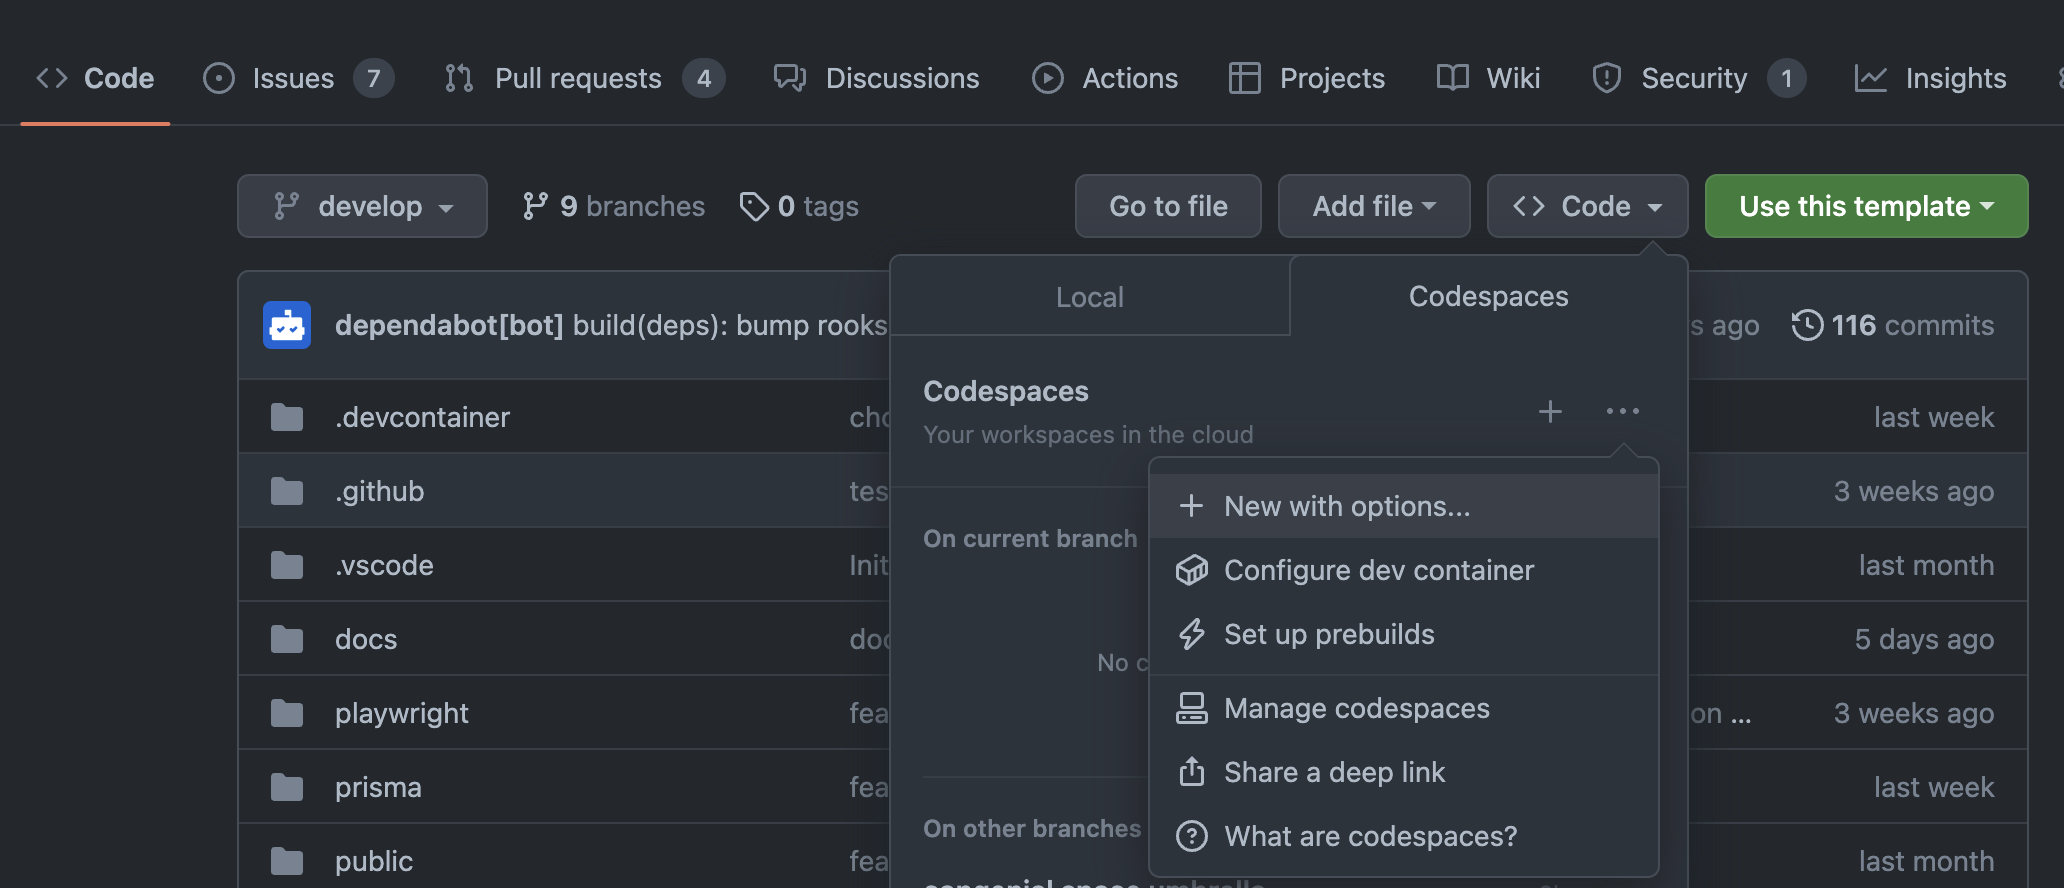
Click or tap on the three dots, and select "New with options...".
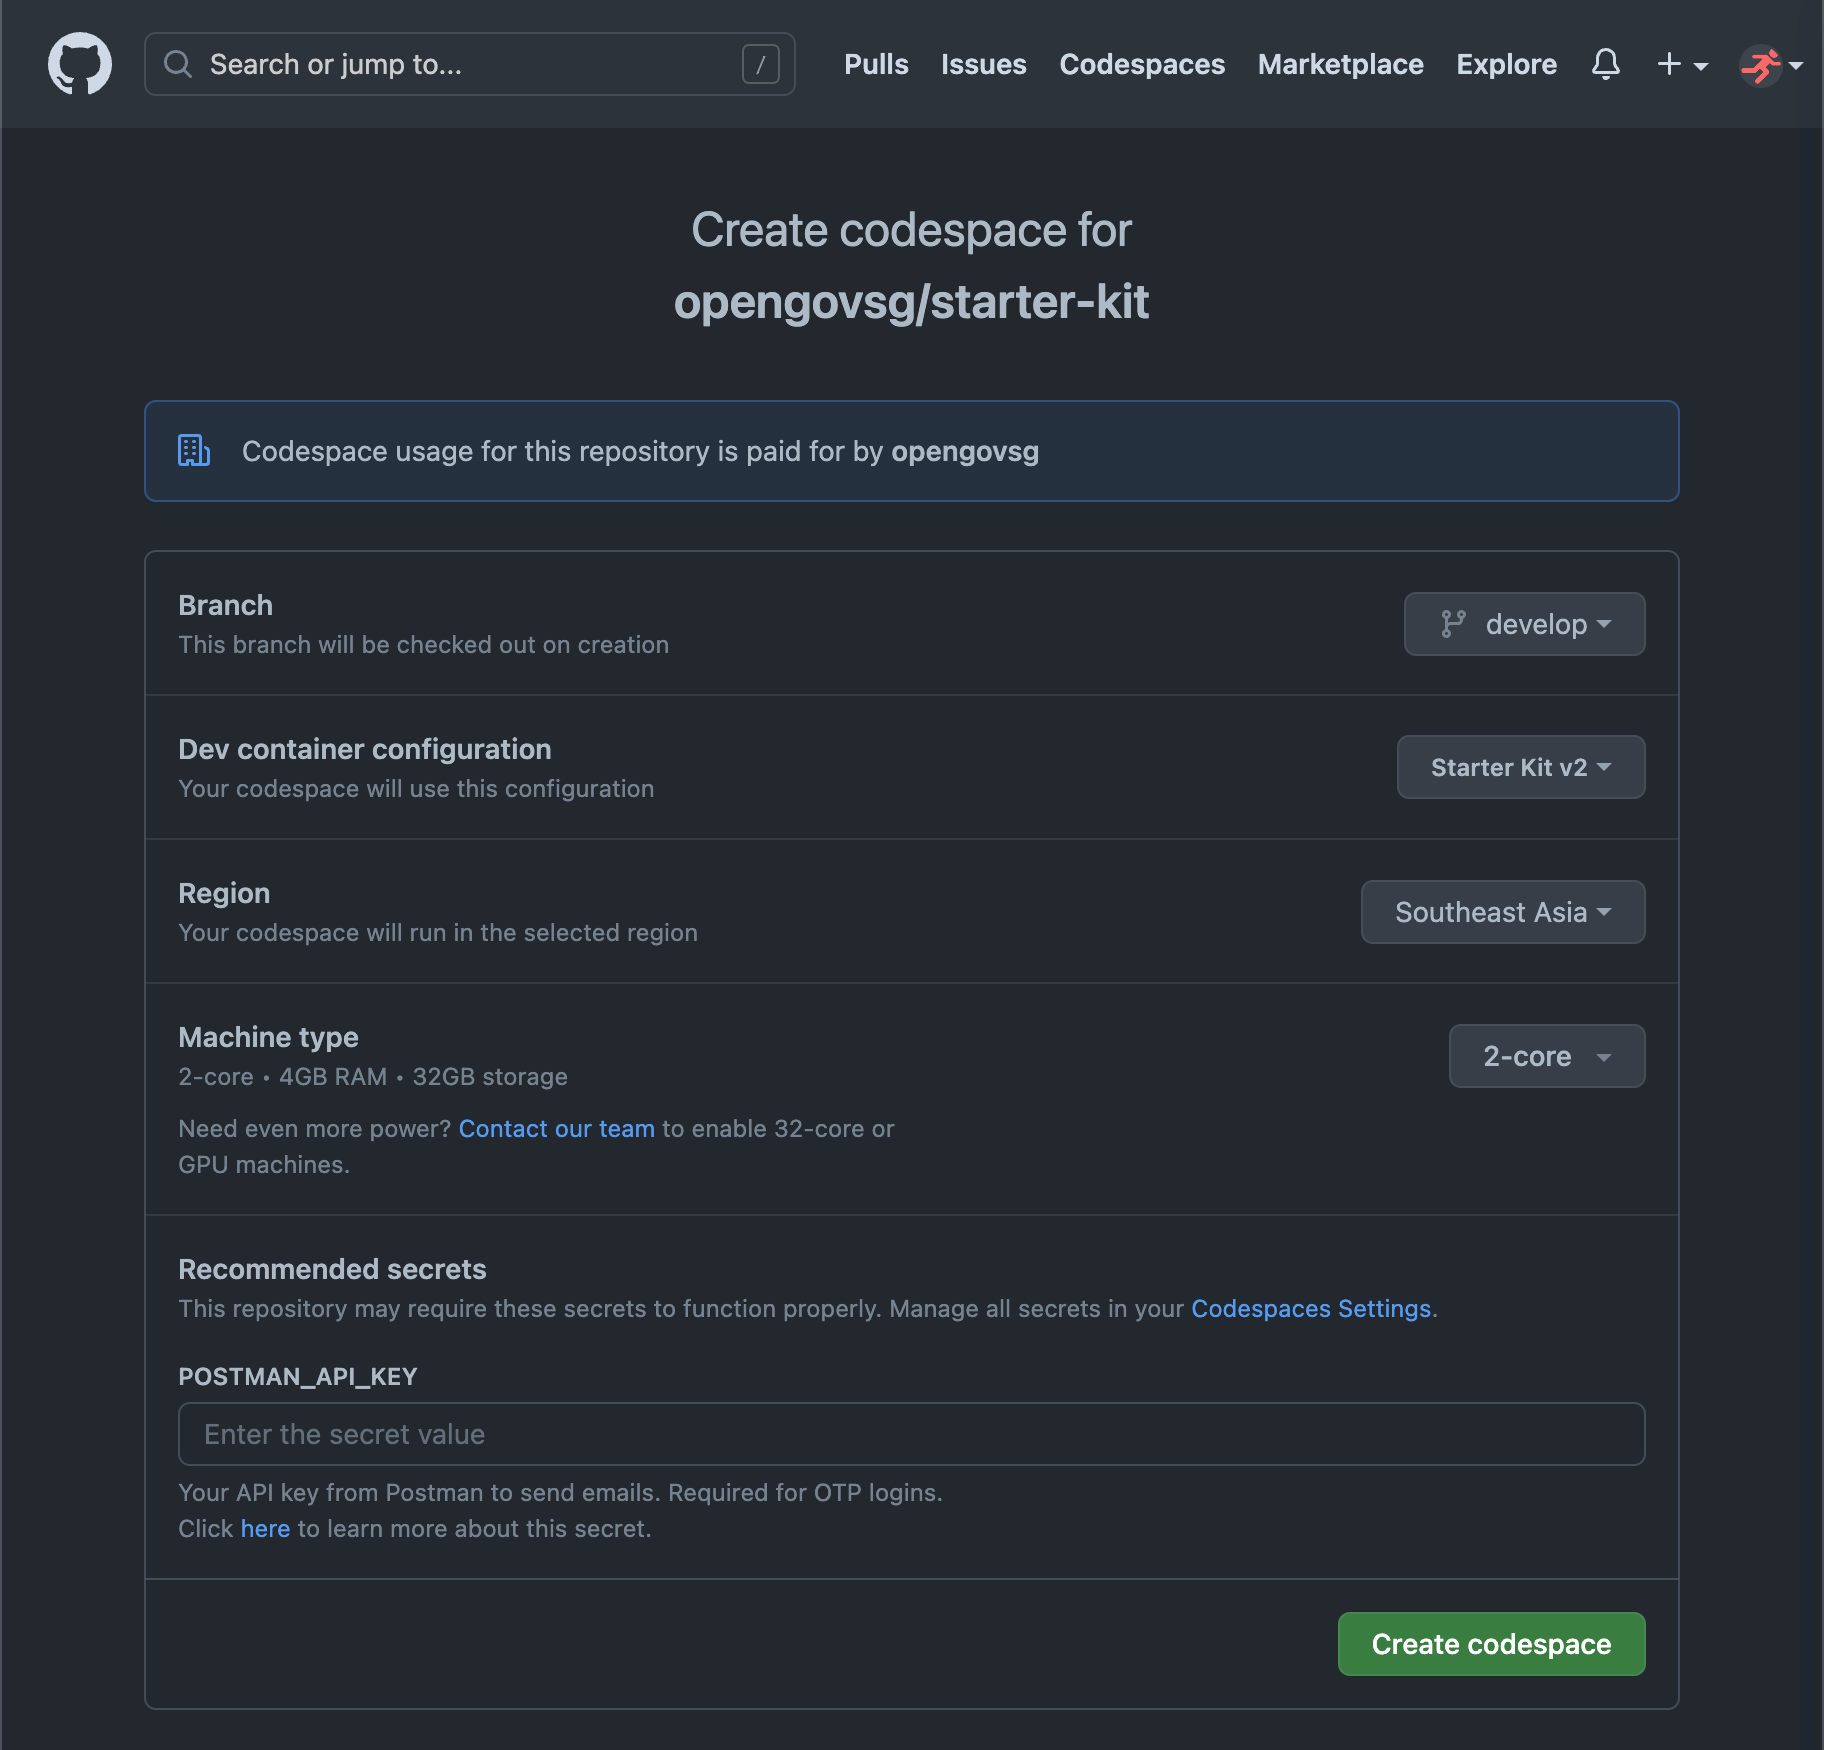
In the following screen, GitHub may prompt you to supply an API key for Postman, if you have not done so previously. This is to grant the Codespaces you create the ability to interact with Postman to send emails.
Wait for the post-create command to finish, and to be presented with a terminal. You will then be presented with Visual Studio Code running in your browser.
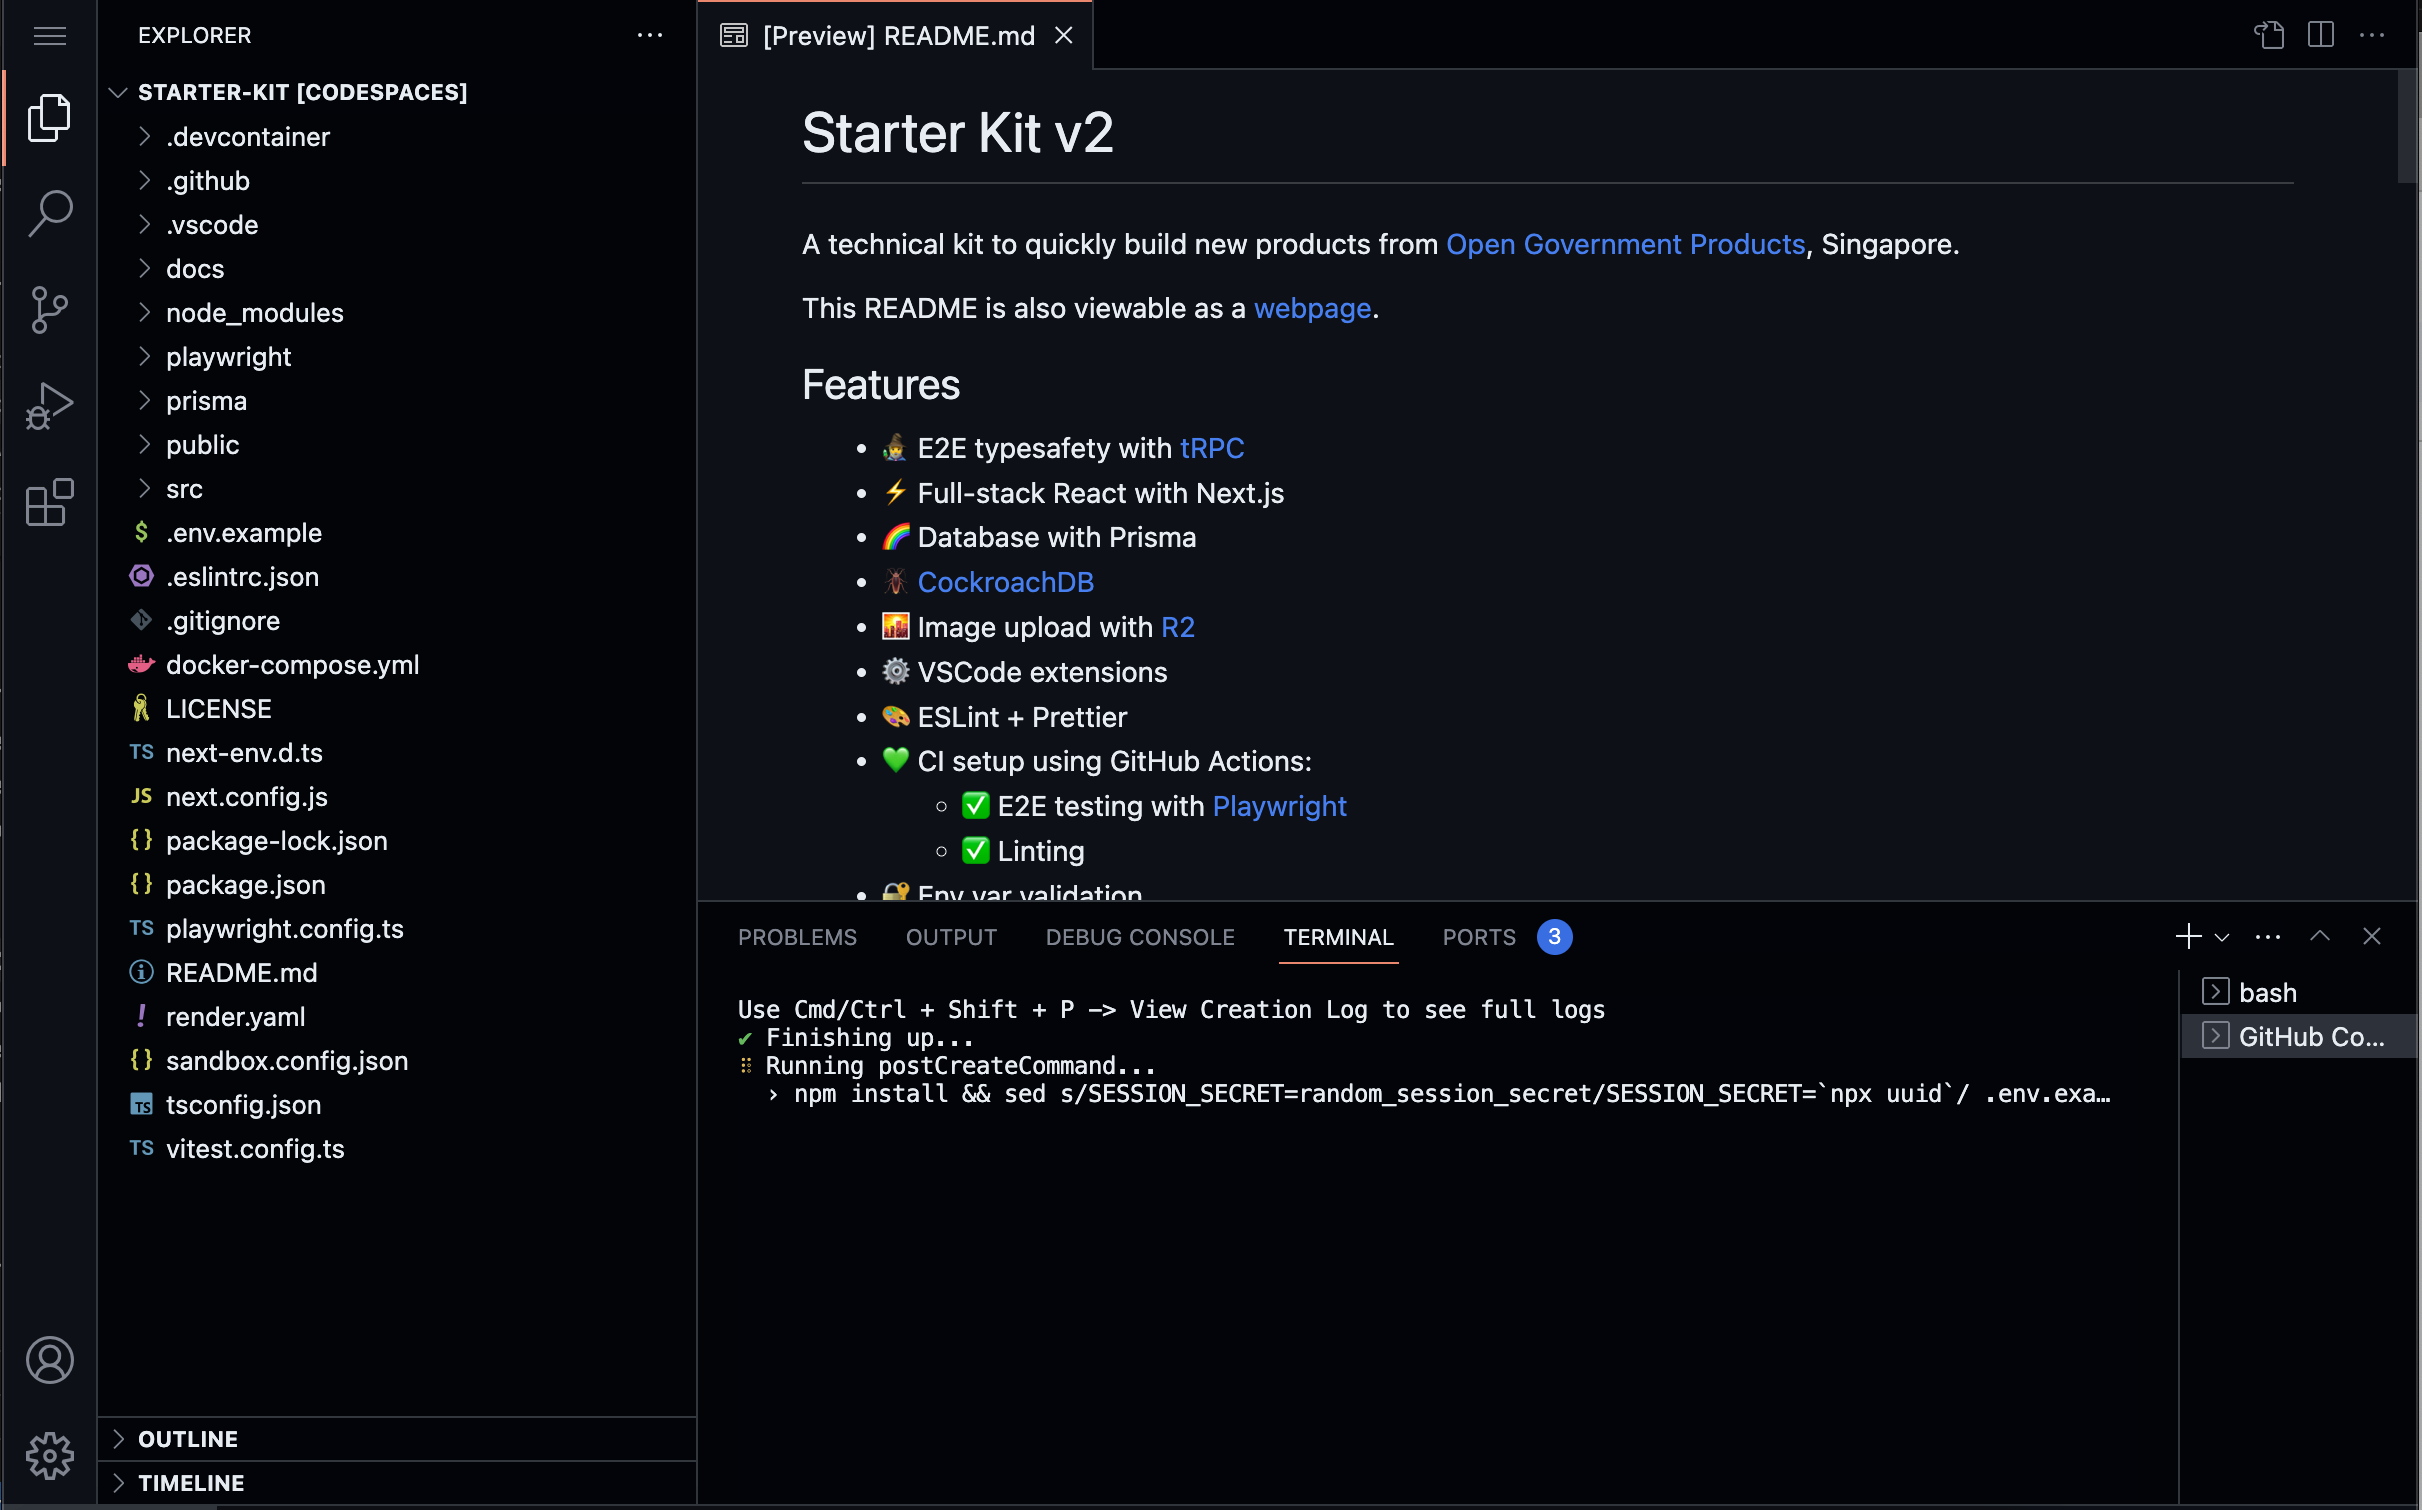
Step 2: Start the development server
Verify that your set up is complete by typing npm run dev into the terminal,
and wait for your application to be built.
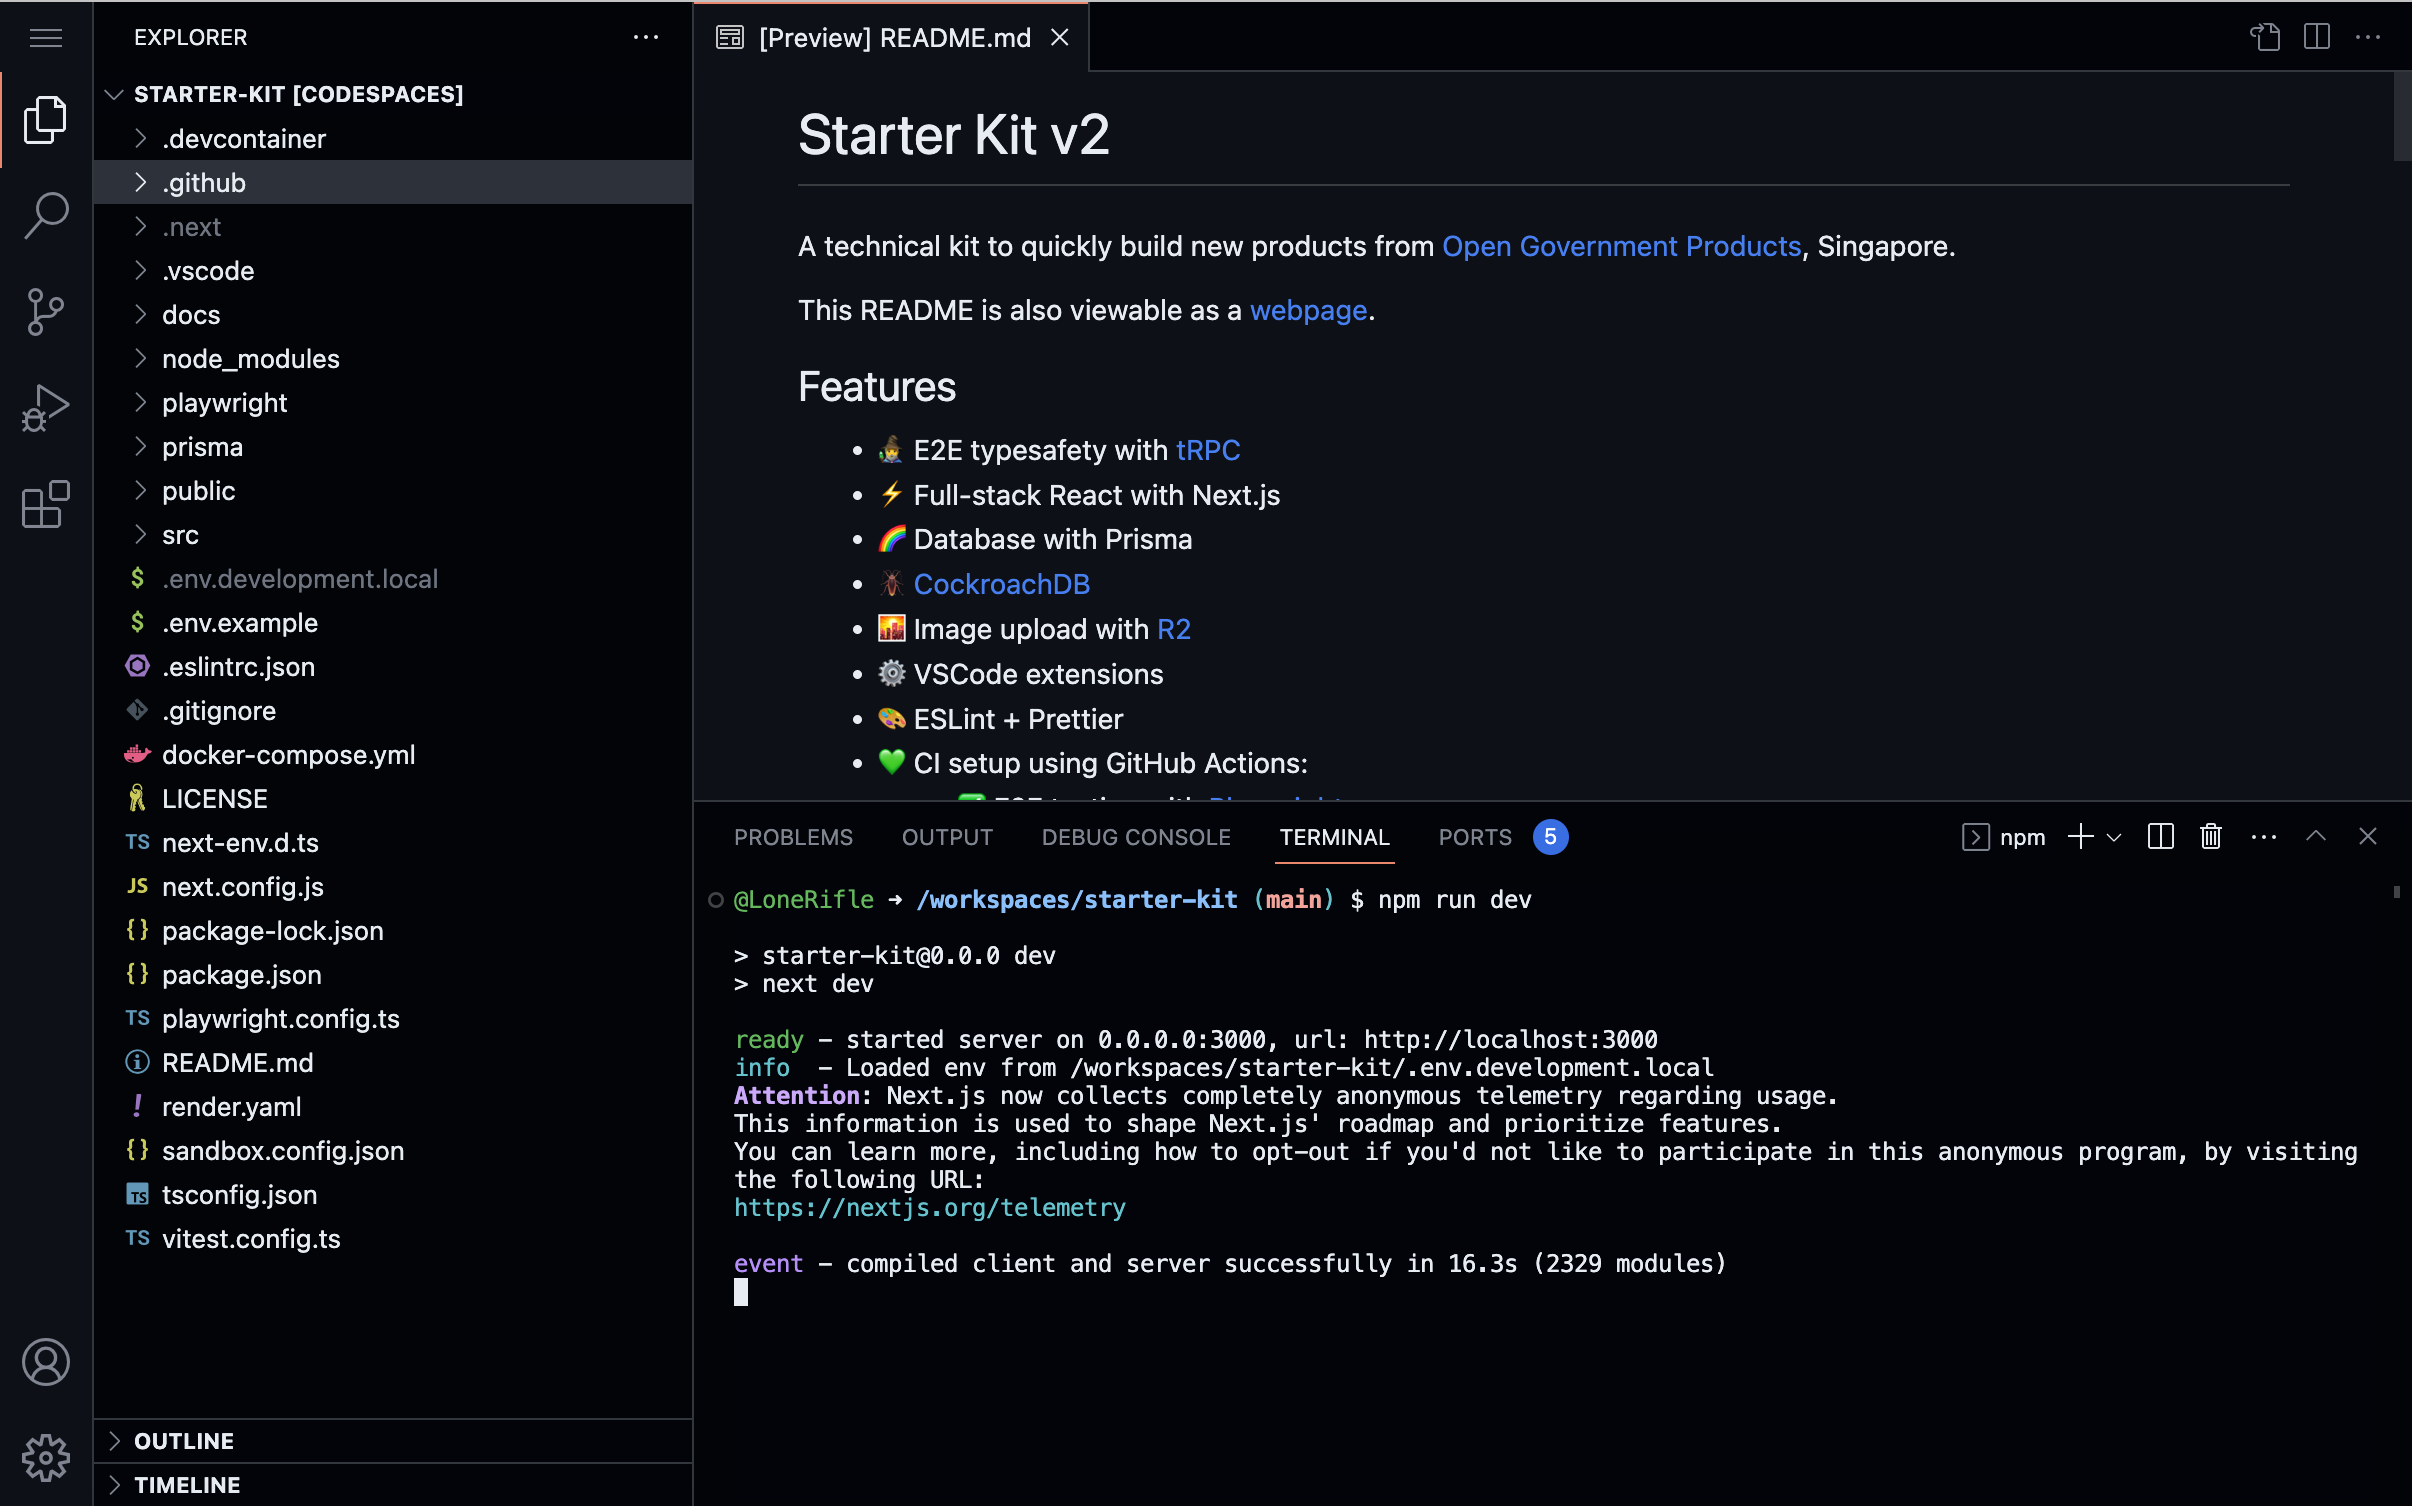
Step 3: Access your application
Click the ports tab in the bottom pane. Find port 3000, and click the globe to Open in Browser.

Your application should load, showing the login page. Attempt to log in by using your email and entering the OTP that subsequently gets sent.
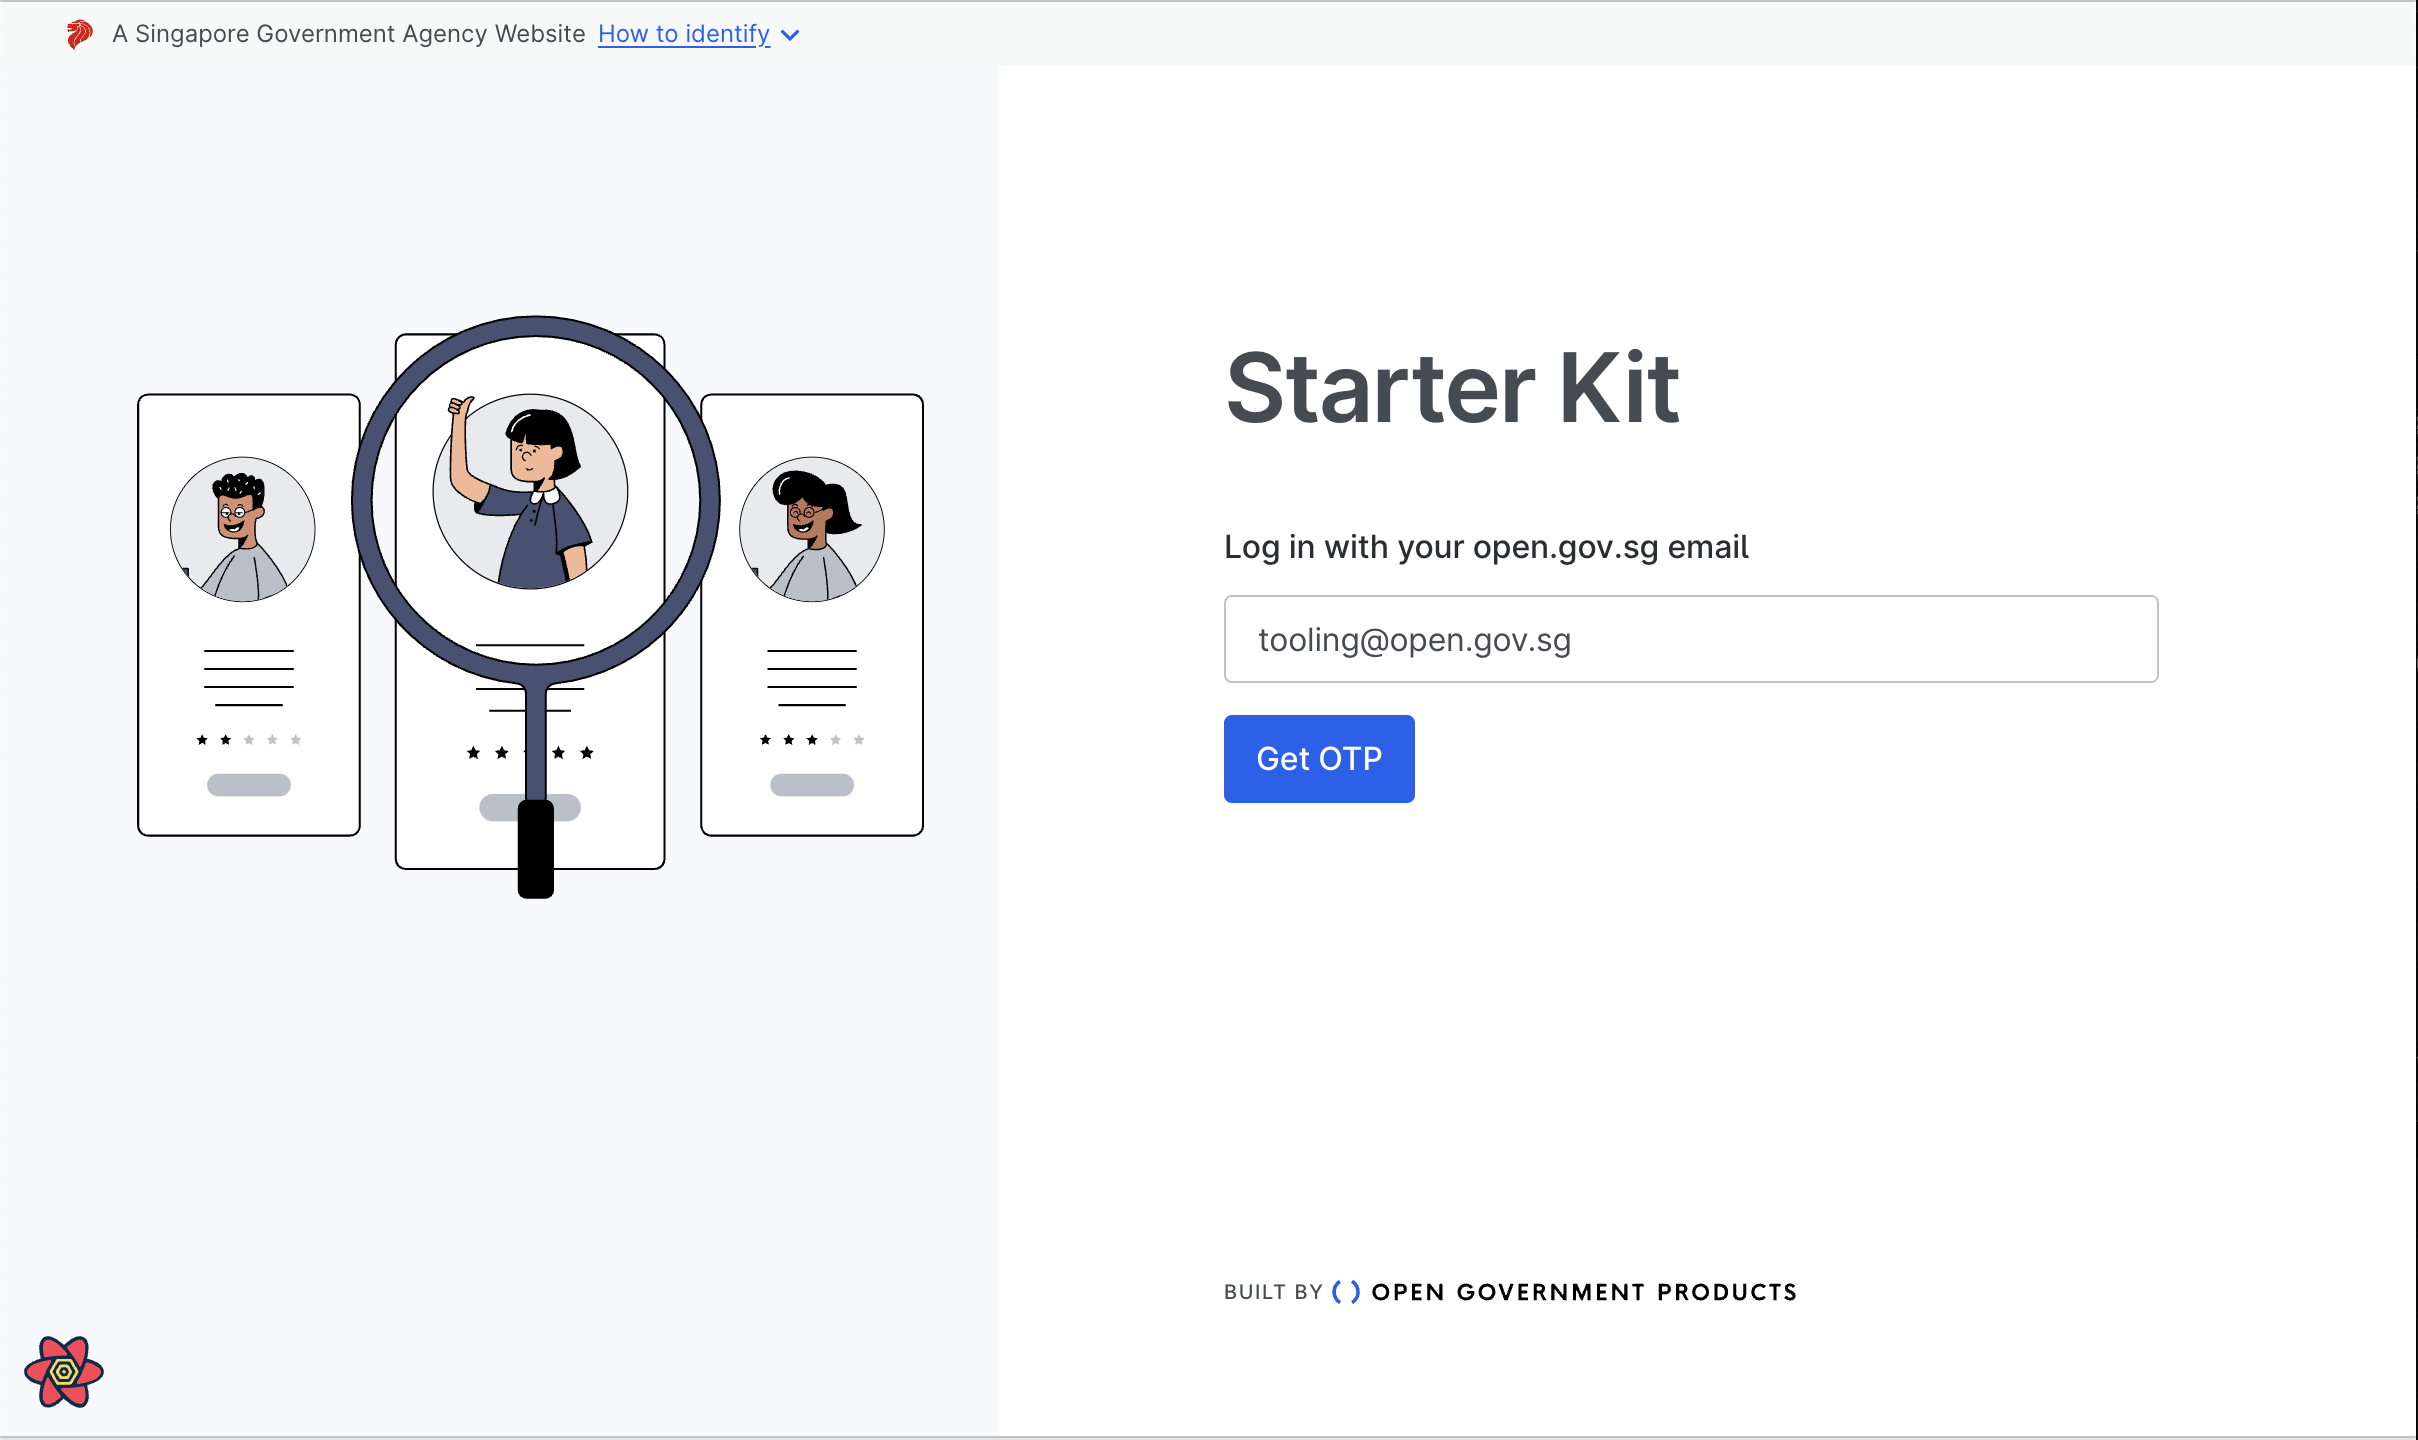
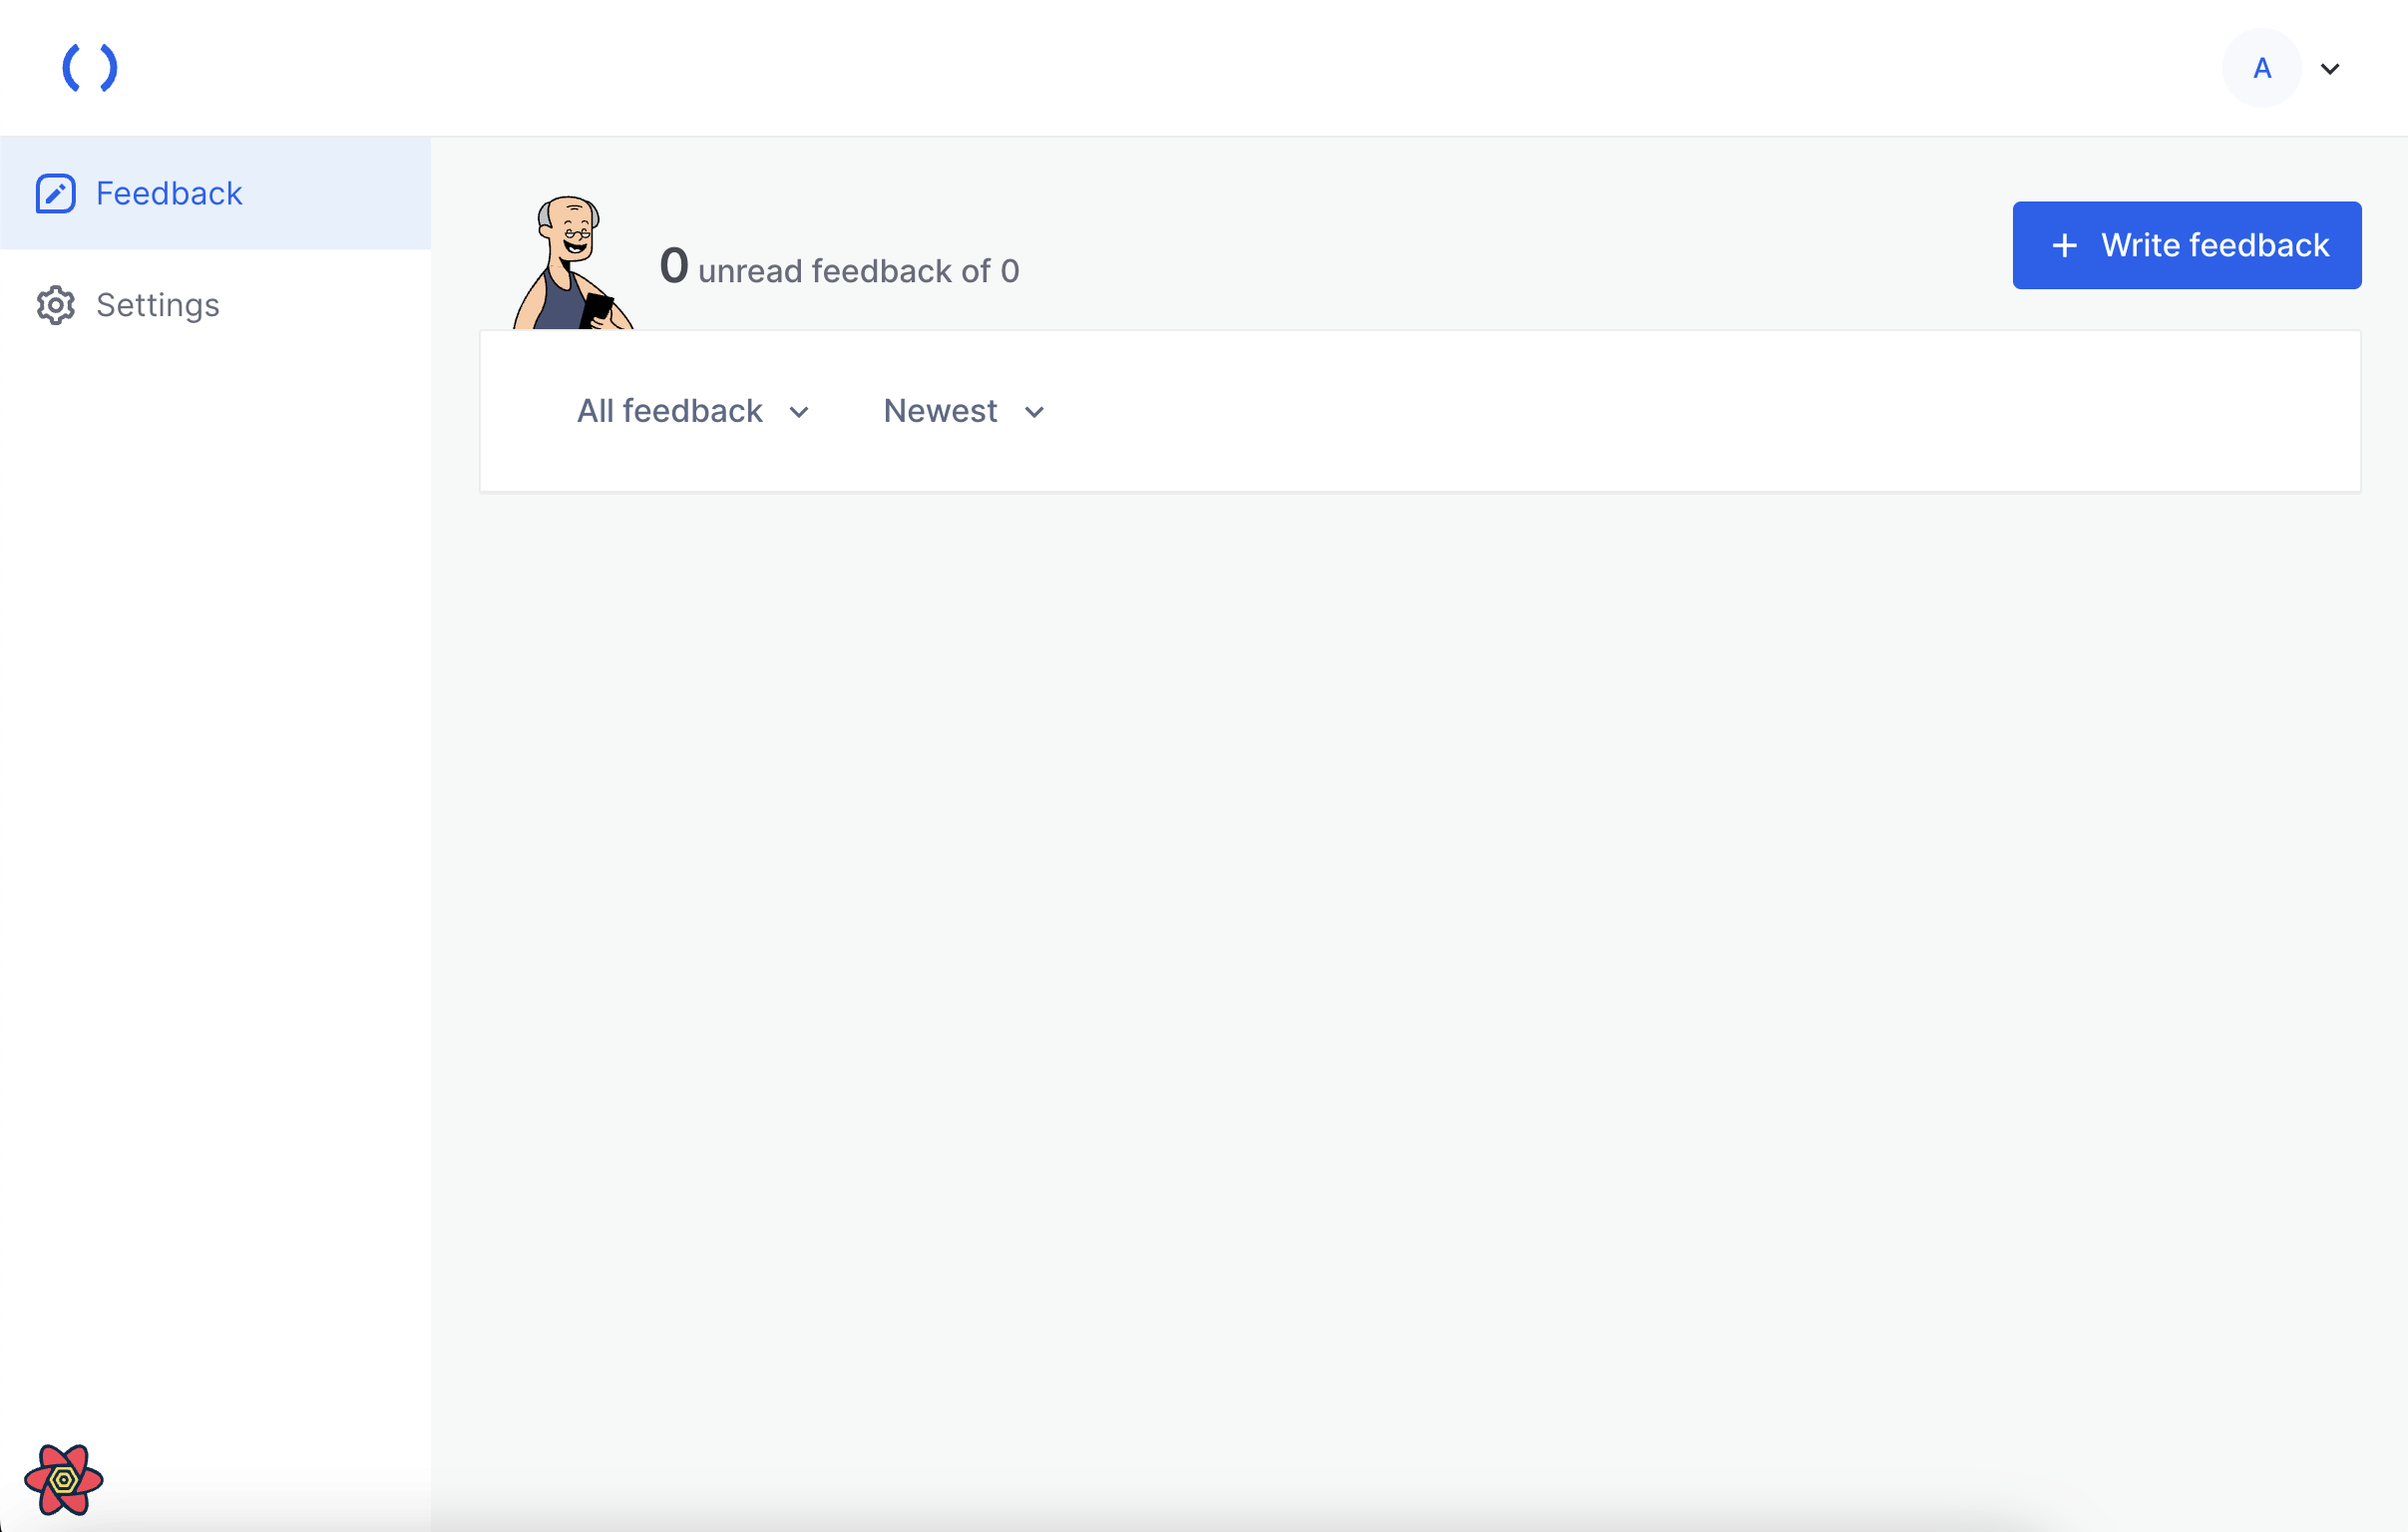
You may have to wait for a while as the next screen gets compiled before loading. Verify that you have successfully logged in by confirming that this screen:
