Setting Up Your Staging Environment
As your product grows, you will want a separate environment to deploy to, so that you can test your features without affecting your userbase.
This guide will help you prepare such an environment, with the simple addition of environment variables, and the creation of a separate branch.
Prerequisites
Like your production environment, you will need a separate set of environment variables for your preview and staging environments.
Refer to the Getting Started Prerequisites guide to refresh your memory on how to create these.
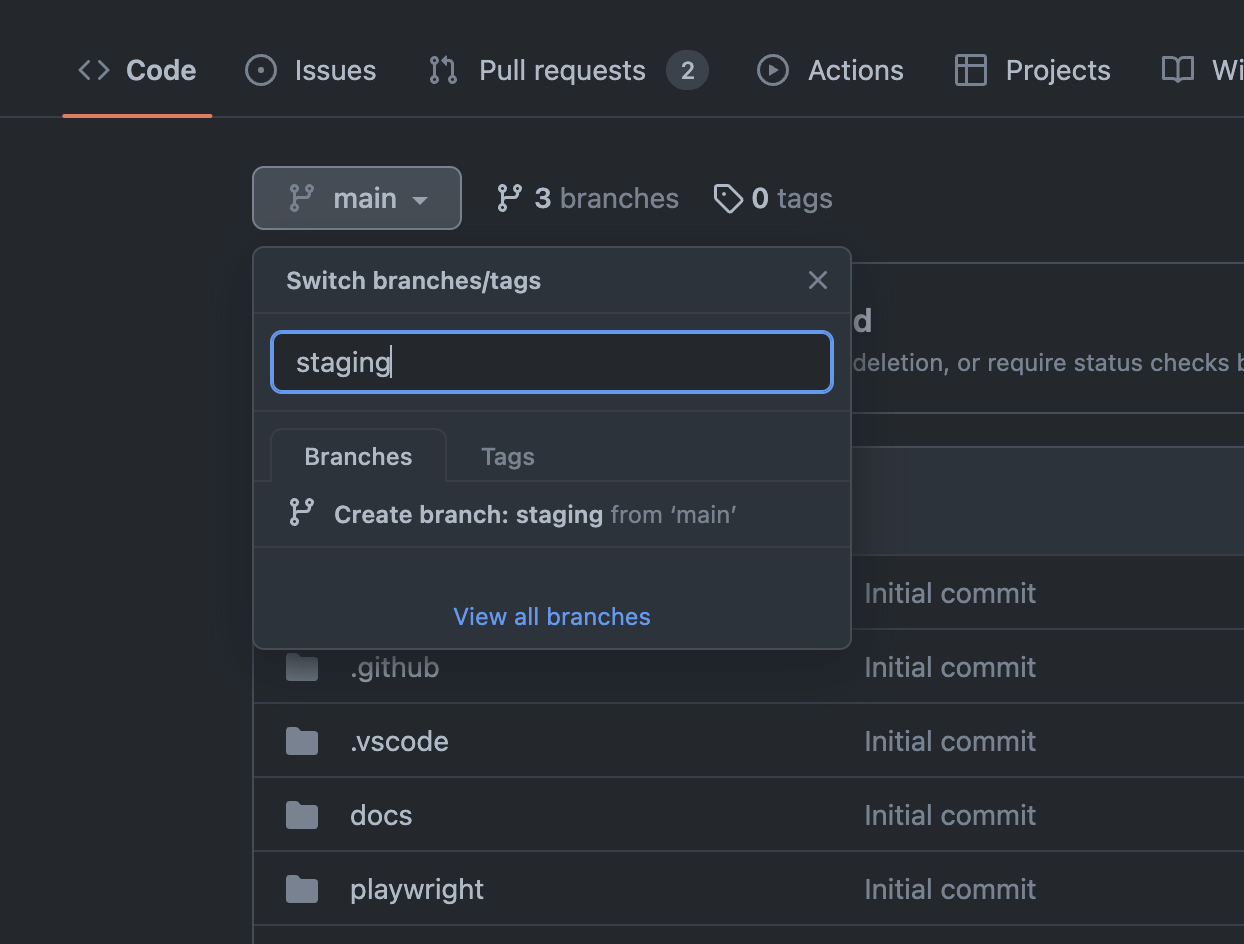
Create a Staging Branch
In your repository, create a staging branch from your main branch:
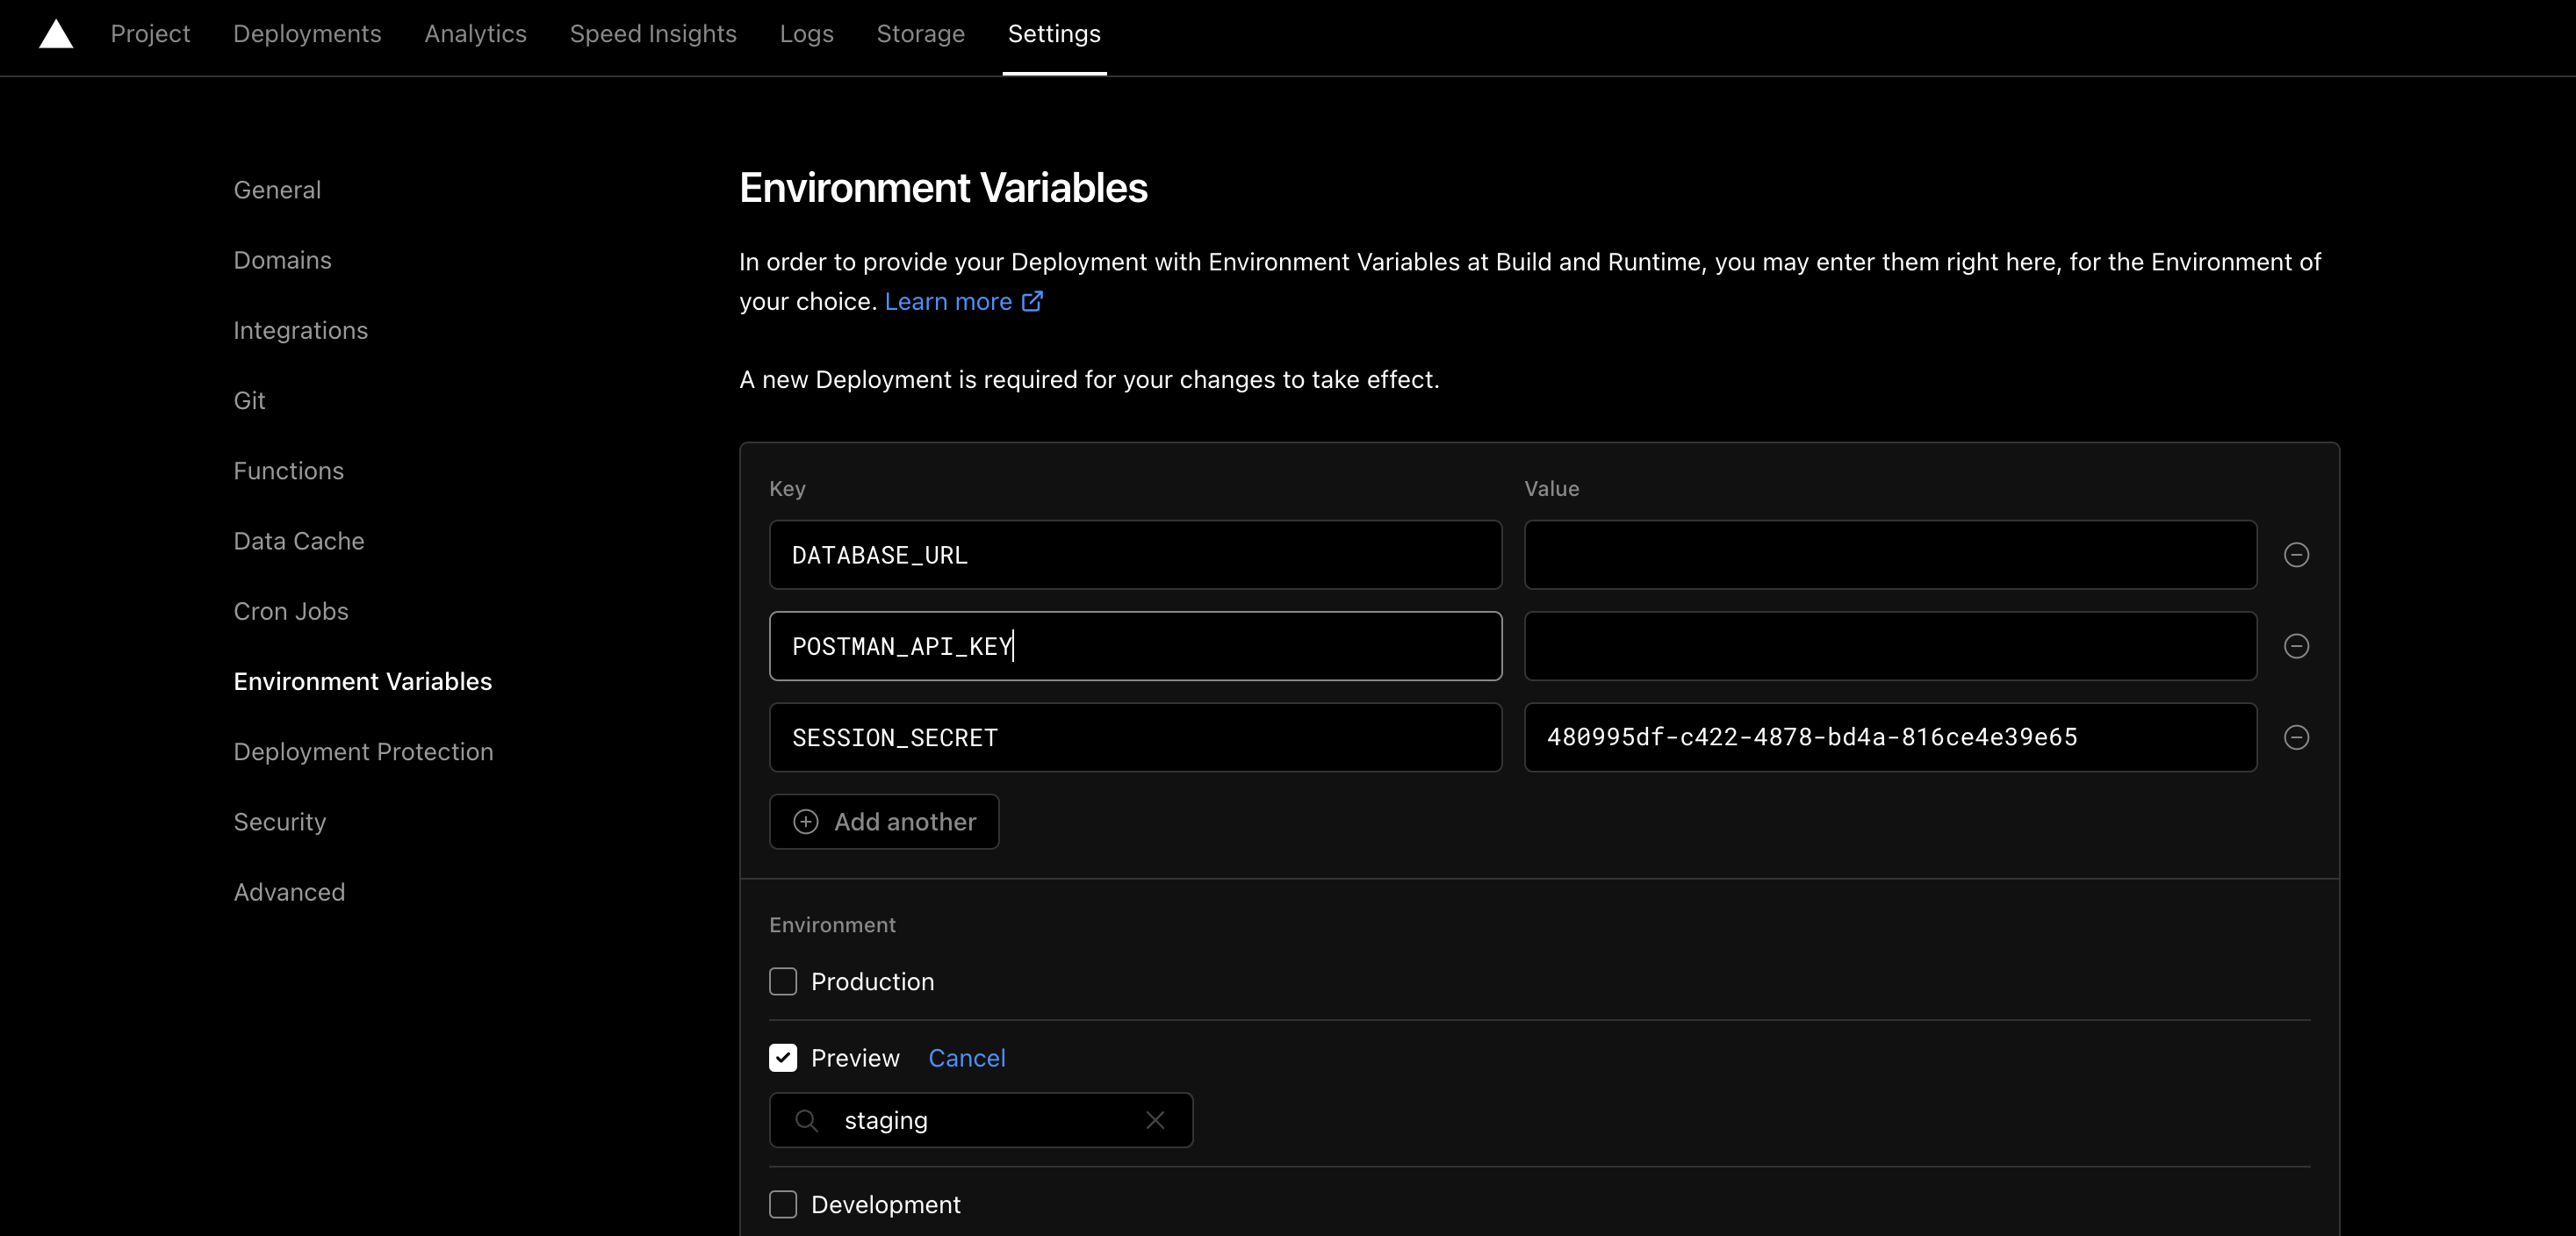
Set Environment Variables for Staging
At the page for your Vercel project, click the Settings tab, then
the Environment Variables section. Add new entries for POSTMAN_API_KEY and SESSION_SECRET,
then ensure that only the Preview environment is checked, and only for the staging branch.
Trigger a Deployment
Deployments to staging can now be done from your codebase, by git pushing
or force-pushing to the staging branch.
For example, you may test your features by force-pushing your feature branch
to the staging branch:
$ git checkout -b feature-branch
# Make some changes, then...
$ git commit -a -m "some changes"
$ git push -u origin feature-branch
# Then push things to staging
$ git push -f origin feature-branch:staging
Your staging environment will then be available on the following URL:
https://<repository-name>-git-staging-<github-username>.vercel.app/